Friday, 23 November 2012

Opacity maps on plants.

This is my task and i’m going to share it with you

TASK: to model a piece of foliage in under 800 tris (triangles), unwrap and texture it. Then make a symmetrical lower poly piece of foliage in under 30 tris, unwrap and texture if needs be.

SO i chose a piece of foliage that would probably fit in the the game The Sims 3.
I painted a Crassula plant as i think that they’re lovely to look at but not a flower.


This is to be copied and pasted loads to make the Crassula main cluster which will bulk up the main part of the plant.
 

I used the colours from this image i found on the internet so that i could get a slightly more accurate piece of foliage 
 
This is what my cluster looks like after copying and pasting the 1 used crassula leaves cluster.

I have to open 3dsmax to do the next part!
first i created a plane with 2 segments vertically and 2 segments horizontally leaving me with a plane that has 9 editable faces. I then turned it into an editable pole so that i could modify the vertices on the plane and make the cluster of leaves look believable.

I then opened my material editor by pressing the M key and using the ‘compact material editor’ i selected to use a diffuse map and  then find my cluster image and place it on the plane. This turned the plane grey so i then clicked on the checkerboard button with a little yellow dot on it to see my texture on my plane.
( this is the ‘’ show standard map in viewport’’ button)


In my view port i got this !!!! and this isnt what happens in games this isn't what the foliage looks like finished!
 

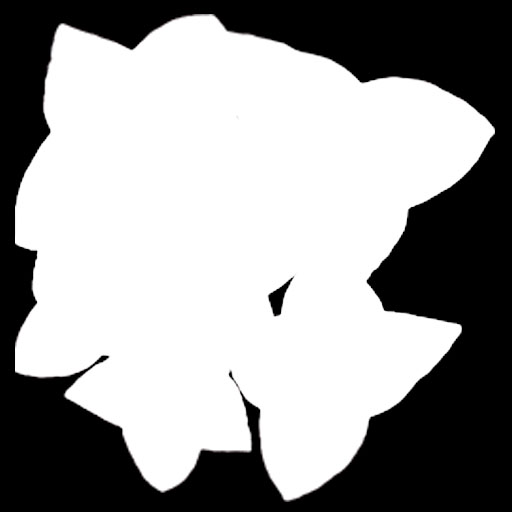
So i used an alpha map! This image represents my cluster of crassula leaves which white= visible in 3ds max and black = invisible!

now to do this is you must Go to Parent in your material editor


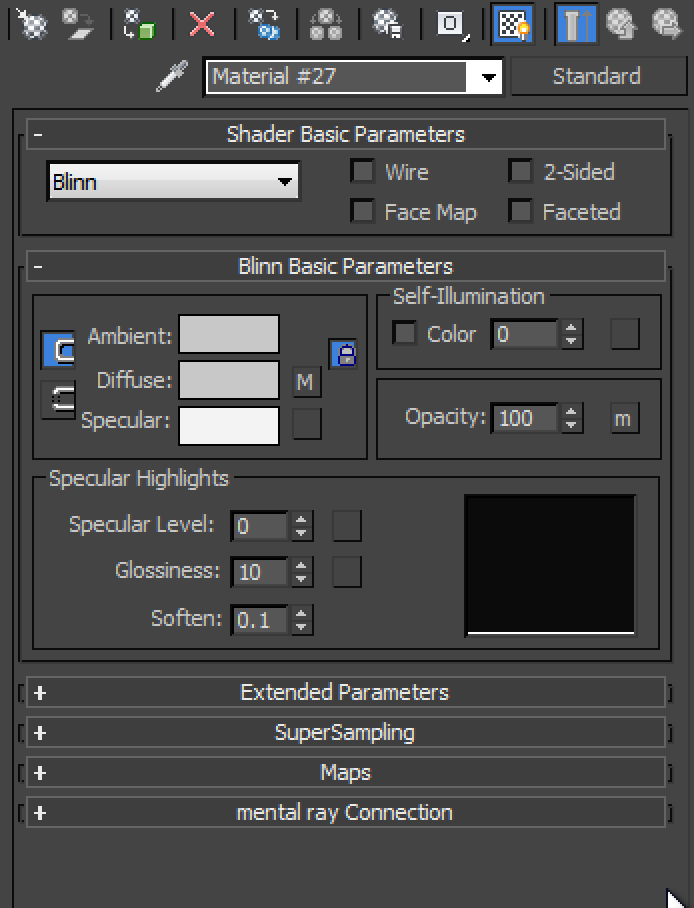
This is what my material editor looked like after going to the parent. You now need to select the sub heading under the name of Maps.

after you click on if you see a variety of different maps look for  Opacity  which is under the subheading maps. you then go to the end of this section to find the button None which then opens the same way your Diffuse maps do.  Find your black and white opacity map Jpeg or psd file and add it to the material editor.
you must travel back up to the parent again by pressing the circle checkerboard with an upward pointing arrow on it.


You will find that this is what your material editor looks like after.

Click ‘’ show standard map in viewport’’  and drag it onto the plane to see your final piece.This is what it should look like. 


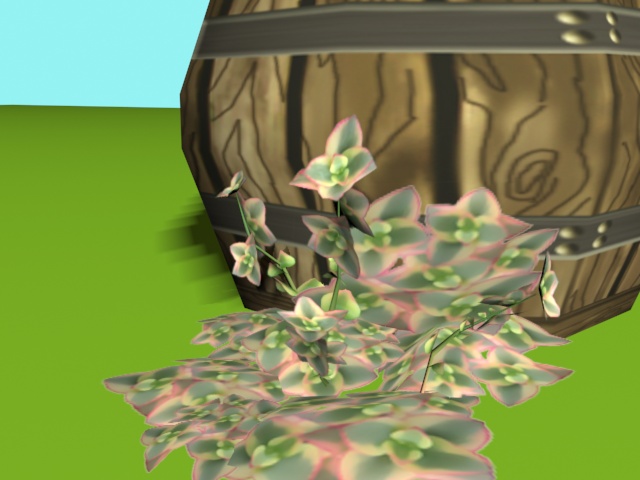
So using my newly gained Opacity maps Knowledge i started my crassula foliage.


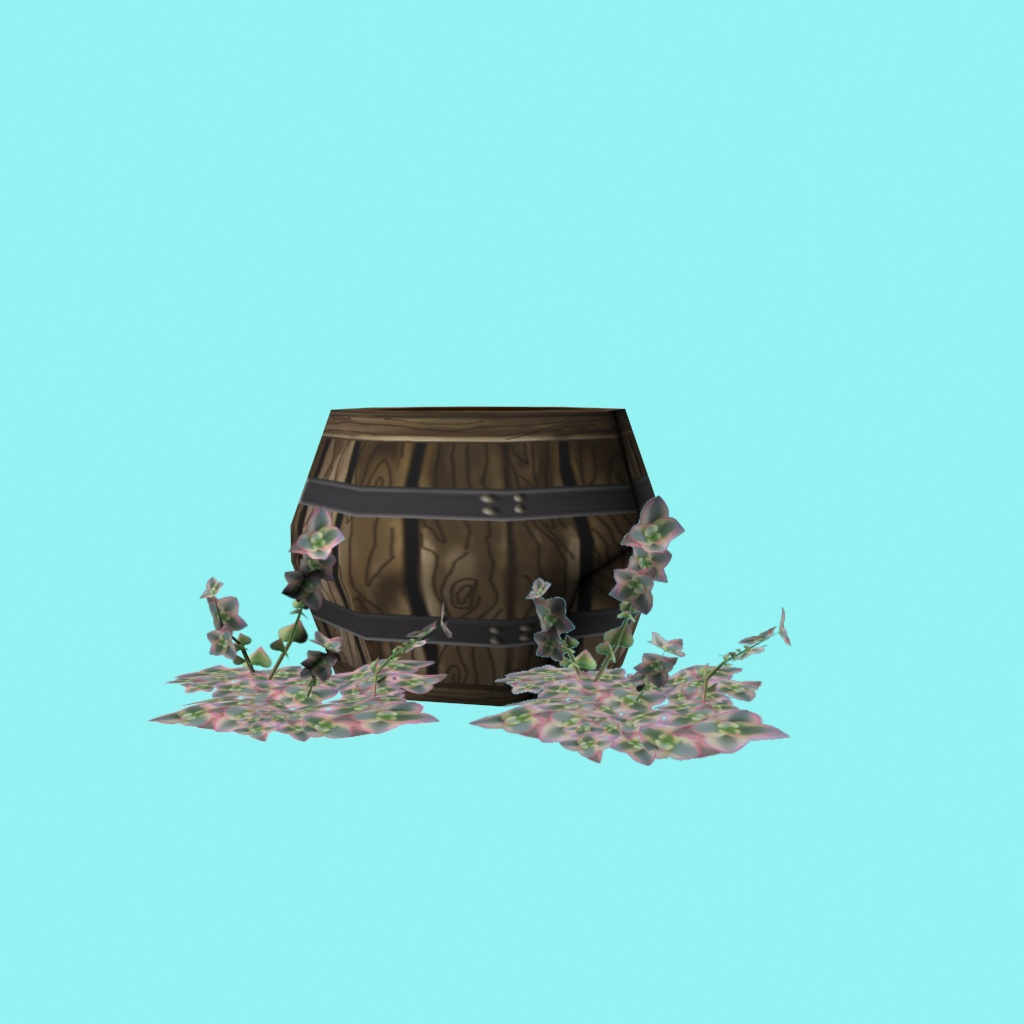
I ended up using just 681 tris for this as my singular stalks were over a hundred tris a pop. had i added anymore of them i would have had tris over 800 thus not sticking to my budget


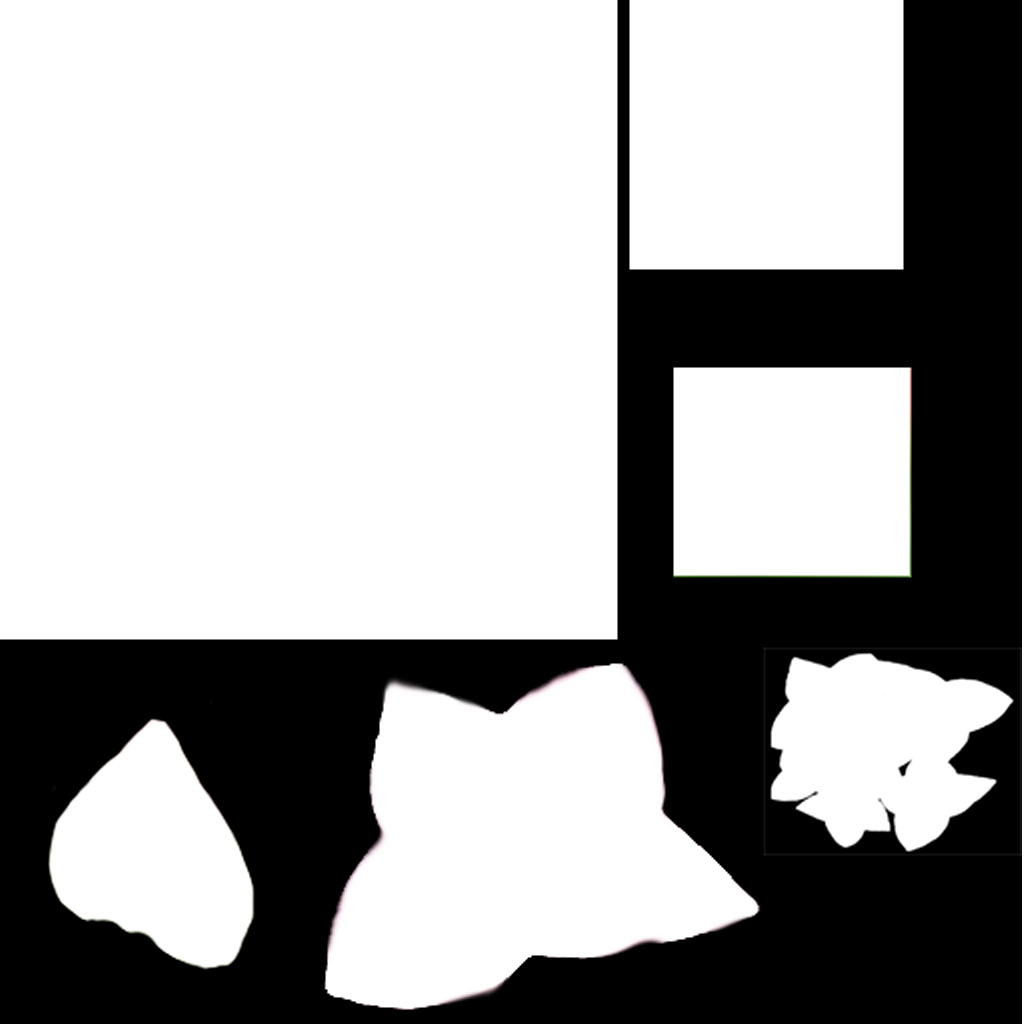
so to make my symmetrical which was under 30 tris was easy i only used up 4 i rendered my foliage that was 681 tris and made an opacity map for that. made a plane and made my identical foliage.
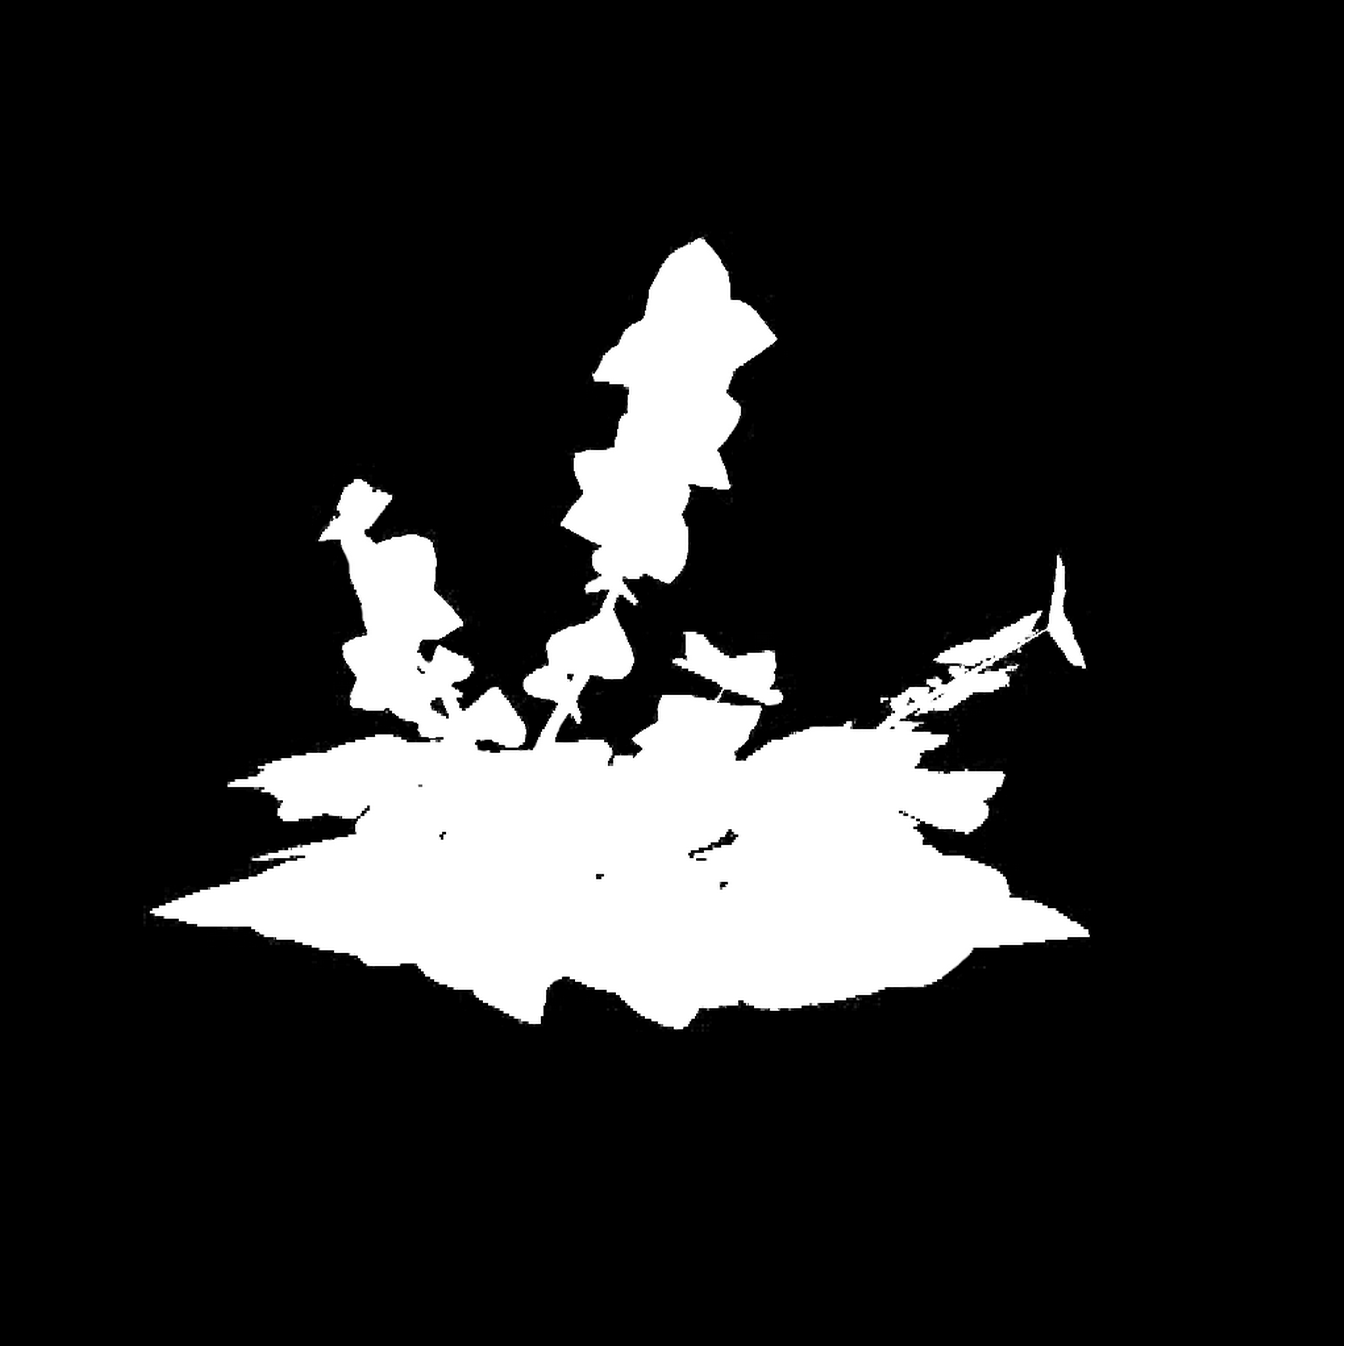
This is my high poly and low poly crassula foliage image

Thanks again :D

So this is the program i am using !


Hello.


Basically the way this post is going to work is.. less words more pictures !

I am literally just going to go through the basics of the programme at college called 3D Studio Max !
Autodesk also offer a range of other modelling softwares, such as Maya Mudbox
123D..etc.


This is the programme i had  a brief understanding of in my previous course but will definitely learn a whole load of new things while doing this course! 


So lets get stuck into the Loading screen and the basics of my new software :D


So to start the programme i go to my 3d Studio Max Software icon on my desktop because that is where i created my short cut, otherwise you can go to the windows icon and find through search bar. if you're on a mac you can use spotlight or finder.


I feel that this software has quite a scary interface and i'm going to try and go over the Absolute basics of the 3d modelling software!

This is your load! click continue


THIS is a view port and if you see here the white writing is just the preferences on what you would like to see and not see when making your 3d model

if you lick on the smooth + highlights tab you'll find all the options

  i add Edged faces so that i can keep and eye on what my model looks like without having to guess. this is preferred by many if not all who use the programme.


This part of the software is for all you basic starting and modifying of shapes. ( which will later become 3d models)


 THIS IS THE CREATE TAB ( if you hover over it it even says create)
 THIS IS THE MODIFY TAB ( says modify when hovered over)

(modify allows you to play with edges faces and vertices on your selected geometry)

so under the create tab there is a sphere that in this image is highlighted blue.

this is where you can find all your geometry.


I clicked box for purposes of being quick on this topic 


Click and drag your mouse inside the view port untill there is a flat square and then pull the face up and away from the ''floor'' to create your geometry! to de-select the box making tool you have to right click. ( right click can also delete a piece of geometry that you accidentally placed and haven't finished creating)

Also to pan around your object in your selected view port click 'alt' and click down on the scrolling wheel of you mouse ''middle mouse button''
so now you just have a box in your screen! if you just right click on the box some options will come up 


You want           Shortcut key
Move                           W
Rotate                          E
Scale                           R


                            MOVE

ROTATE

SCALE


THIS IS THE TASK BAR OF WHICH IS AT THE TOP OF THE SCREEN!

here are some of the more important icons and what they do.
icon on the left is select only middle is select by name as if you name your geometry it is easier in the long run and the icon on the right is just a selection and it selects all the faces/verts/edges that it sees 


 The icon on the left is the move tool, in the middle is the rotate tool and on the right is the scale tool, ( if the scale tool doesnt have these 2 arrows on it may not scale in proportion, if it doesn't scale in proportion click on the icon and drop down to the one that looks like this!.

 This is angle snaps and this is particularly useful as you rotate in 0.5 degree sums and not 0.01degree sums. Thus making it quicker and easier to get an accurate 180 degree rotation
 this is for rendering you piece to see what it looks like without all its ugly faces. the one on the far left is the material editor but we don't need to worry about that today
the one on the left is the render setup icon and this is for fancying up your renders. the middle on is render frame window and this renders what is currently in the viewport  and i dont use too much at the moment but the one on the right is the render production tool and it takes the perspective of either the camera or the view of which you look at the object in the view port. ( also is affected by the render setup)

And that's all really for now! 

I really enjoy using 3d studio max and hope that these pictures can guide people into the software and not scare them away from max's crazy interface !

 But do not fear as Max is easy to get used to if you use it again and again!


Thanks again. :)

Hello I'm Michelle


Hello There.


Right, Hello there.


My name is Michelle Marie Wilkinson. I was born in 1994 and have been exploring the world ever since, but i still haven't gotten all i need from it!!


I started college in September of 2010, i wanted to do a Level 3 course in Art. In November of 2010 i felt that art was much to broad a subject and it had become a ridiculous thing to put your whole time and effort into.... that's only what i thought.
So then i thought maybe it wasn't just the subject maybe its just me? maybe its my art style? maybe i liked other areas that included art but wasn't down the same road as Picasso, Cezanne or Monet.
This is my Favorite Cezanne piece as it makes me think about a sky with no birds trees with no breeze a town with scarse life.
Why i see this picture this way? Because im actually really entertained by the art of life and the ways i can recreate it.


I transferred courses in that November to a Games Development course at level 3 that took 2 years to complete. i learnt how to write long essays about hardware, software, developers, development, stories, research and much much more. so coming from a rather creative background it was a shock to my systems... i wanted to know more and i wanted to learn more about the subject i was studying.
i got left behind in the group sometimes as i just didn't understand what they where all talking about!! but that didn't stop me completing and coming out with the MMM grades! then after the September of 2012 led me to; yet again another wrong decision.

I started a Visual Communications qualification at the start of September 2012- i then came to realise that i had walked into a course that wanted nothing to do with the art i did and the animation i was interested in.... 
And i said to myself

So after having no worries i found the games art FDA this November of 2012 and which i am currently loving ! i feel like i can learn a lot and still show my skills, to become a credit to this group of such talented individuals.
Thus not losing/forgetting the skills from my previous course and instead developing them to a standard of which i can become  24 hour games art/ animation industry member.


Less formal side of my blog,
This is me
<---------- im quite normal really
i have 2 eyes a nose a mouth 2 ears and ...so on you get the point :)

im rather harmless and am rather happy ... almost all the time !

(when i concentrate i make stupid faces)


My love for traditional/digital art  and animation has captivated me since i was ... well since i can remember  and now i have taken it to the next level by being on this FDA Games Art course. I feel that i can do the best of the best of the best on this course but i really do understand that it's not just about what i do on my course its about how dedicated i am to my area .. how outstanding my work can be, my extra pieces are the ones that count the most.


Thank you for your time!  
I hope you enjoyed my (long) short Introduction.